- Troubleshooting video
- FAQ
- Contact us
Troubleshooting video
Frequently Asked Questions
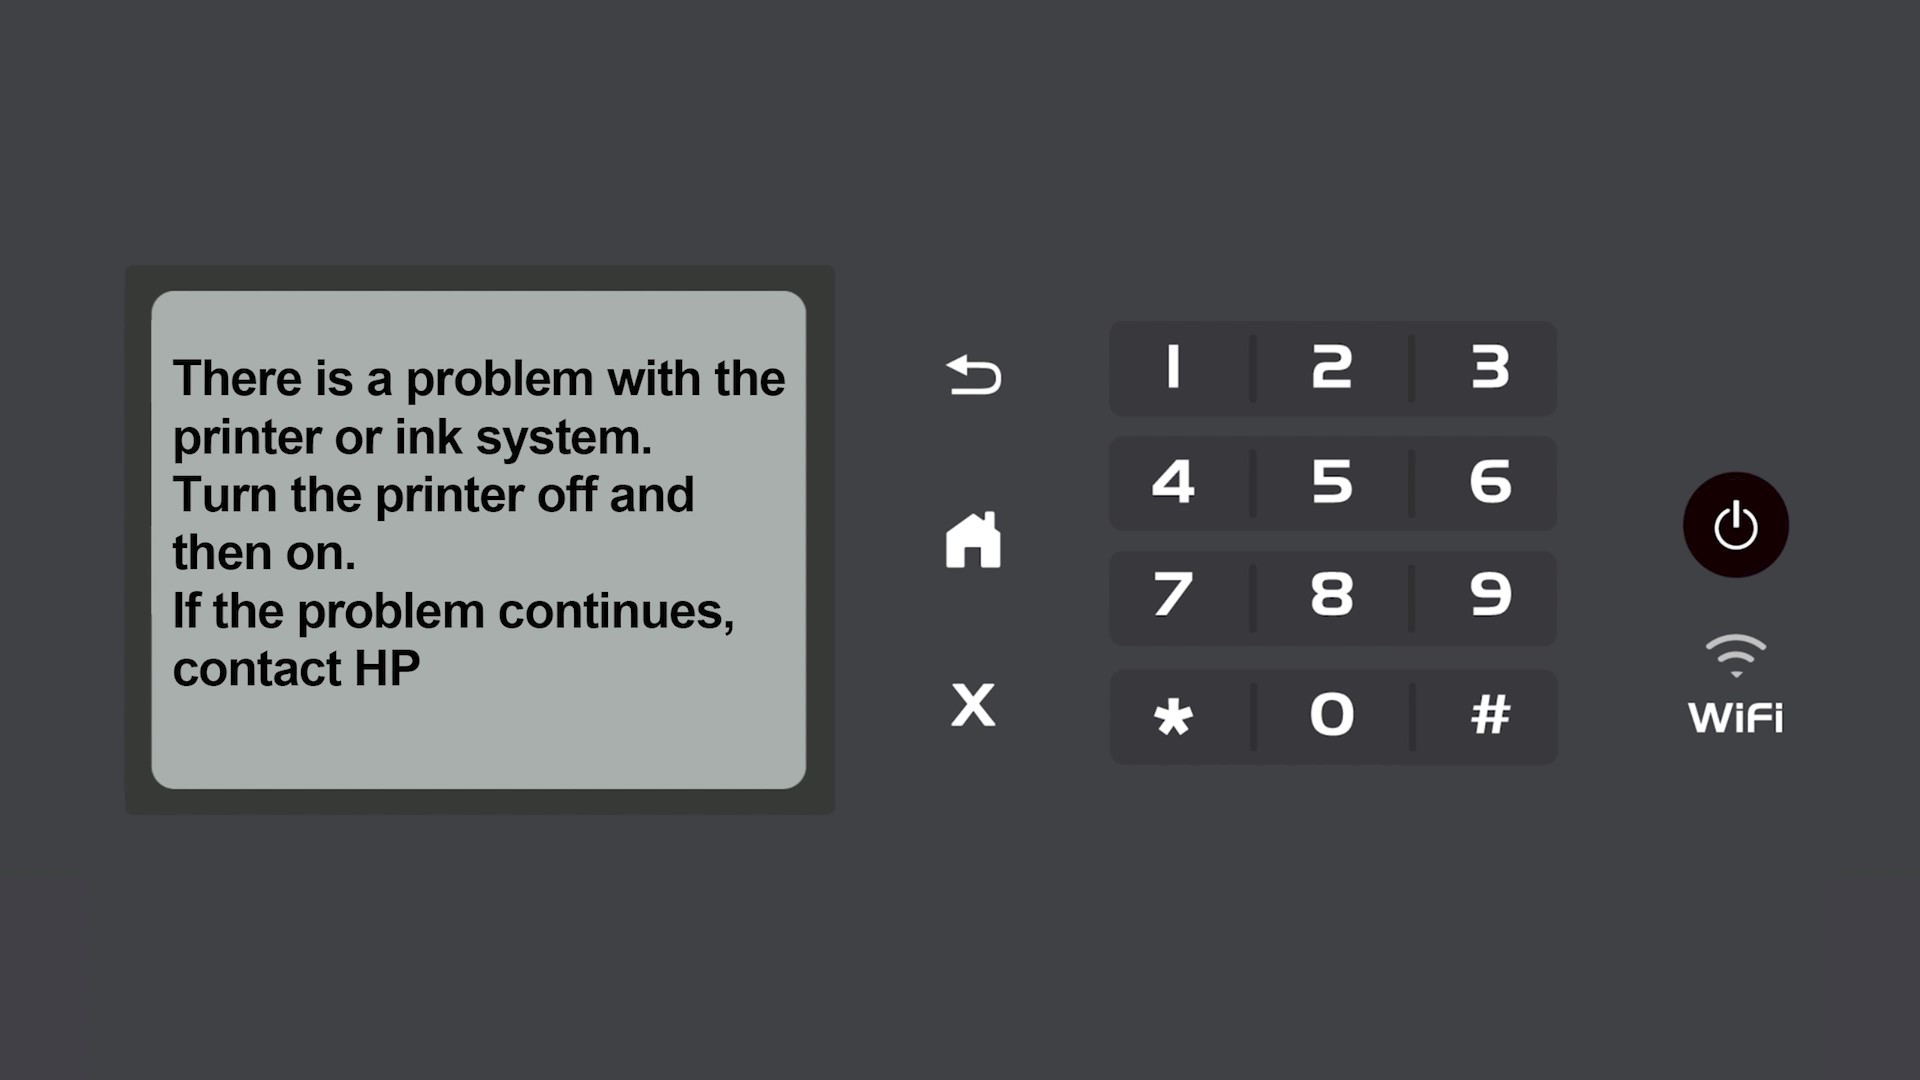
HP Printers - An 'Ink System Failure' or 'System Supply Problem' Error Displays
Resolve Ink System Failure or System Supply Problem errors.
CARTRIDGE TYPES
Type: 950,951,932,933 ink cartridges - resolve 'Ink System Failure' or 'System Supply Problem' errors
Resolve an 'Ink System Failure' or 'System Supply Problem' message for printers that use HP 950,951,932,933 cartridges.
Perform the following tasks in the order given. Use the printer after each task to see if the issue is resolved.
1、Reset the printer
Reset the printer to recover from printer errors or failures.
If your printer has a rechargeable battery, remove it.
With the printer turned on, disconnect the power cord from the printer.
Unplug the power cord from the power source.
Wait 60 seconds.
Reconnect the power cord to a wall outlet and to the printer.
NOTE:
HP recommends plugging the printer directly into a wall outlet.
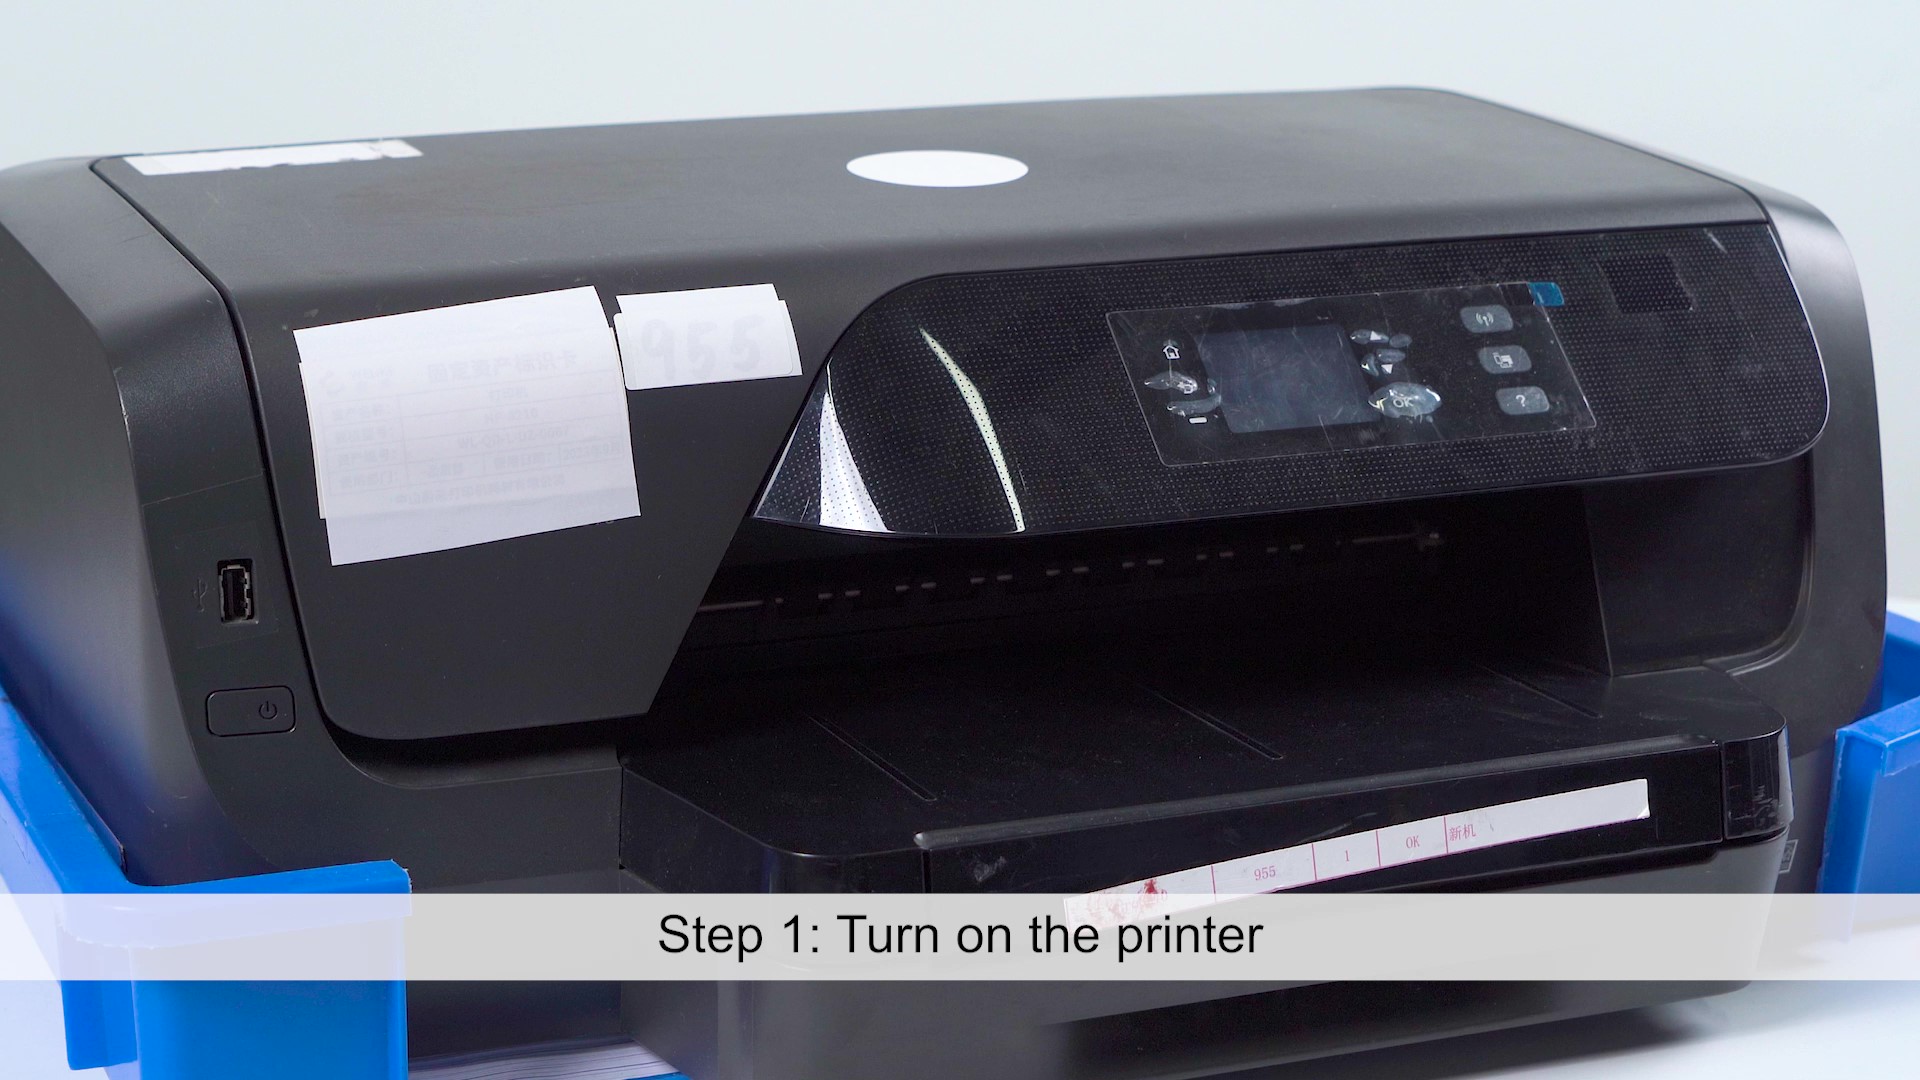
Turn on the printer to complete the reset.
2、Remove and reinsert the ink cartridges
Make sure the cartridges are seated properly in the carriage.
Turn on the printer, and then open the door or lid to the cartridge access area.
Wait until the carriage is idle and silent before you continue.
Push the ink cartridge to remove it, and then push it into its slot until it snaps into place.
Repeat these steps to remove and reinsert the other cartridges.
Close the door or lid to the cartridge access area.
3、Replace all ink cartridges
Install a new set of cartridges to resolve certain ink system-related errors.
For best results, replace all cartridges with genuine HP cartridges. To find your cartridge number and purchase HP ink supplies, go to the HP Store or a local retailer.
NOTE:
If you have defective HP cartridges, they might be under warranty. Go to About Original HP Cartridges for page yield and HP limited warranty information.
Open the door or lid to the cartridge access area. Wait until the carriage stops moving before continuing.
Remove a cartridge, and then insert the new cartridge into the slot.
Repeat these steps to replace the other cartridges.
4、Replace the printhead
If the printer has a removable printhead, order a new one. Otherwise, follow the steps provided to service the printer.
Open the door or lid to the cartridge access area. Wait until the carriage stops moving before continuing.
Look for a latch on the carriage.
If there is no latch, the printhead is not replaceable. Go to Contact HP Customer Support to schedule a product repair or replacement. If you are in Asia Pacific, you will be directed to a local service center in your area. To confirm your warranty status, go to HP Product Warranty Check. Repair fees might apply for out-of-warranty products.
If there is a latch, continue to the next step.
Go to the HP Parts Store. If you are in Asia Pacific, the site directs you to a service center in your area.
Search for your printhead number.
For 950 and 951 cartridges, search for CR322A (Americas), CR324A (Europe, Middle East, Africa), or CR326A (Asia Pacific, Japan).
For 952-959 cartridges, search for M0H91A.
For 962-969 cartridges, search for 3JB16A.
Follow the steps to order the printhead.
NOTE:
If you have a defective printhead, it might be under warranty. Go to About Original HP Cartridges for HP limited warranty information.
Install the replacement printhead.


